

The best keyboard is one you’ve built yourself.
If you look at one of my previous blog posts, I changed the case of one of my keyboards. This left me with a spare aluminium keyboard case. So I’ve decided to put it to good use!
So here’s what you’ll need to assemble your own keyboard.
- Keyboard Case
- Back plate
- PCB
- Switches
- Stabilisers
- Keycaps
- LEDs (Optional)
And you’ll need a soldering iron, screwdrivers and a bit of patience!
So I ordered most the stuff from Banggood and I’m still waiting on the LEDs and the stabilisers so I can’t fully assemble this keyboard yet. But I’ll follow this up with another blog post 😉
So, let’s start!
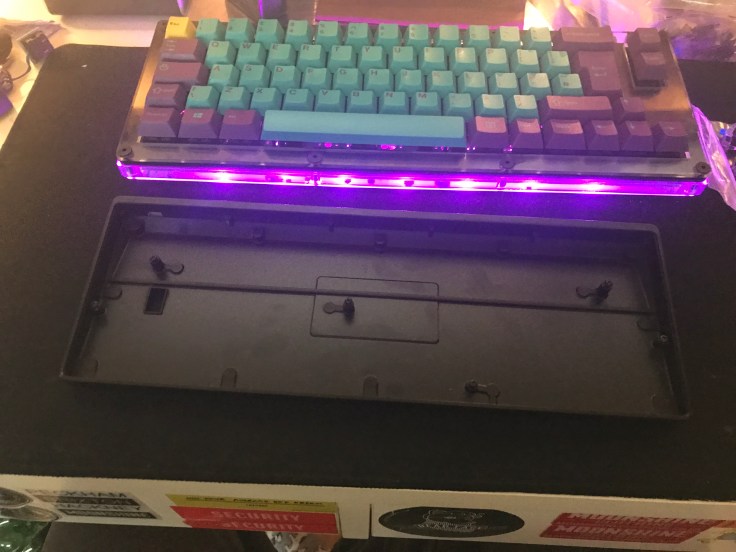
Here’s the case. This keyboard will be 60%. There are 6 screw wholes which will keep the PCB secure. They are a standard layout so the majority of 60% PCBs will fit but there are a few exceptions! This one is aluminium, but you can get them in a lot of different materials! Metals, wood, acrylics. I’ve seen one made out of a clipboard!


And here’s the PCB! So this is where the switches will be soldered and will send the key presses to my computer. You can hand wire keyboards but I haven’t got to that stage yet!
This PCB is a GH60. It supports both Cherry and Alps style switches, although I’ve gone with the former to make it easier to get key caps for!
It’s pretty much a ready to go PCB, all you’ll need to do is solder the switches! It also supports LEDs per key.
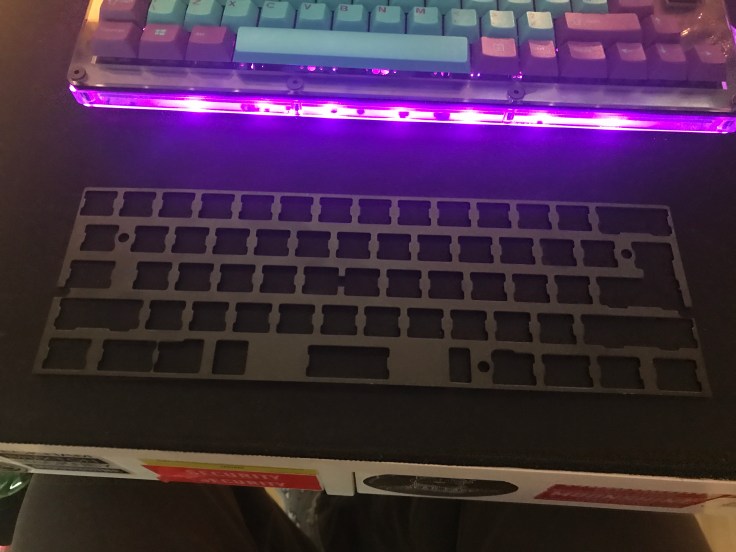
And here’s the back plate. This isn’t actually required, but it’ll absorb some of the impact when pressing a key and take a bit of strain off the PCB. I gone for black. Black on black. This particular one is universal so it supports both ISO and ANSI layouts.


And here we have the switches! Felt like a change so I’m trying Gateron blues for the first time. These have a clear casing so LEDs will look hella kewl with. Got about 80 of these which is more than I need but they were a good price so I got a few extra ‘just in case’
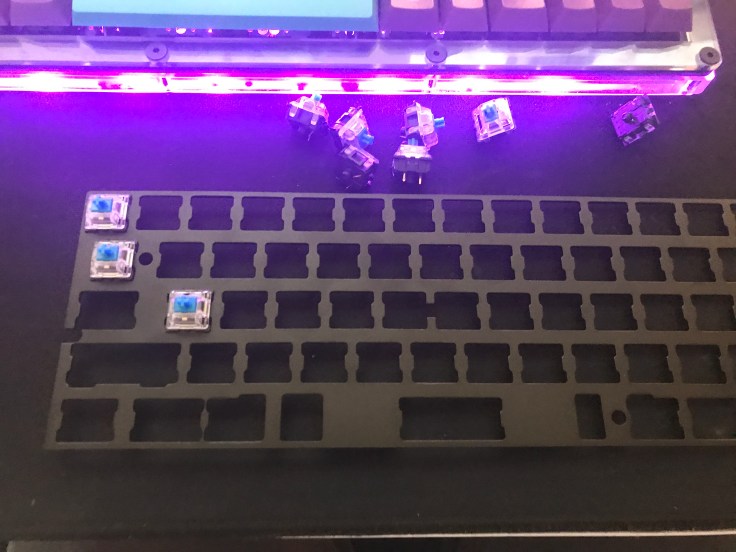
And so we can start! So first step is to press the switches into the back plate. They click in. It’s important to make sure the switches are the correct way round so that they’ll match up with the solder points on the PCB. Otherwise, you gotta take them alllll out and flip them round!
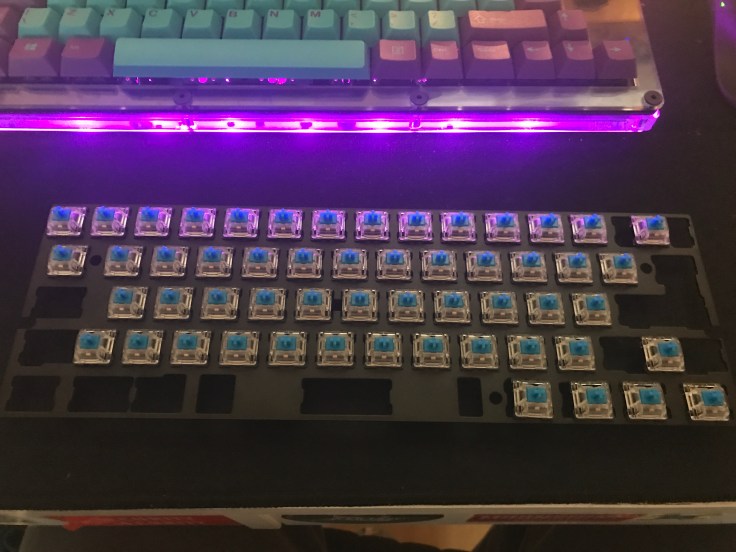
Keep doing this until the keyboard gets a bit full. I didn’t do all of them as I wanna make sure they’re in the right place!
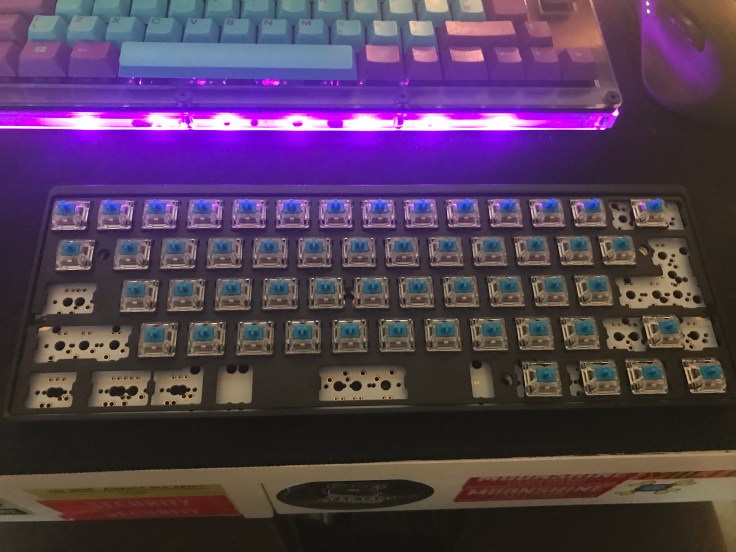
Then match it up with PCB and press it into place. As the switches go over the backplate into the PCB, I can match up the leftover switches and solder them in!
But this is as much as I can do for now! Stabilisers are important and I ain’t gonna make a keyboard without them! Should be getting the LEDs with that order too!
Stay tuned for the next post! Solder on!

April 9, 2024 at 7:37 pm
This is a great article for those interested in building their own mechanical keyboard. The author provides a clear and concise overview of the parts needed and the process involved. I’m looking forward to reading the next part of the series!